
ZOSI C680 Window Camera: Setup and Getting a Clear View Through Glass
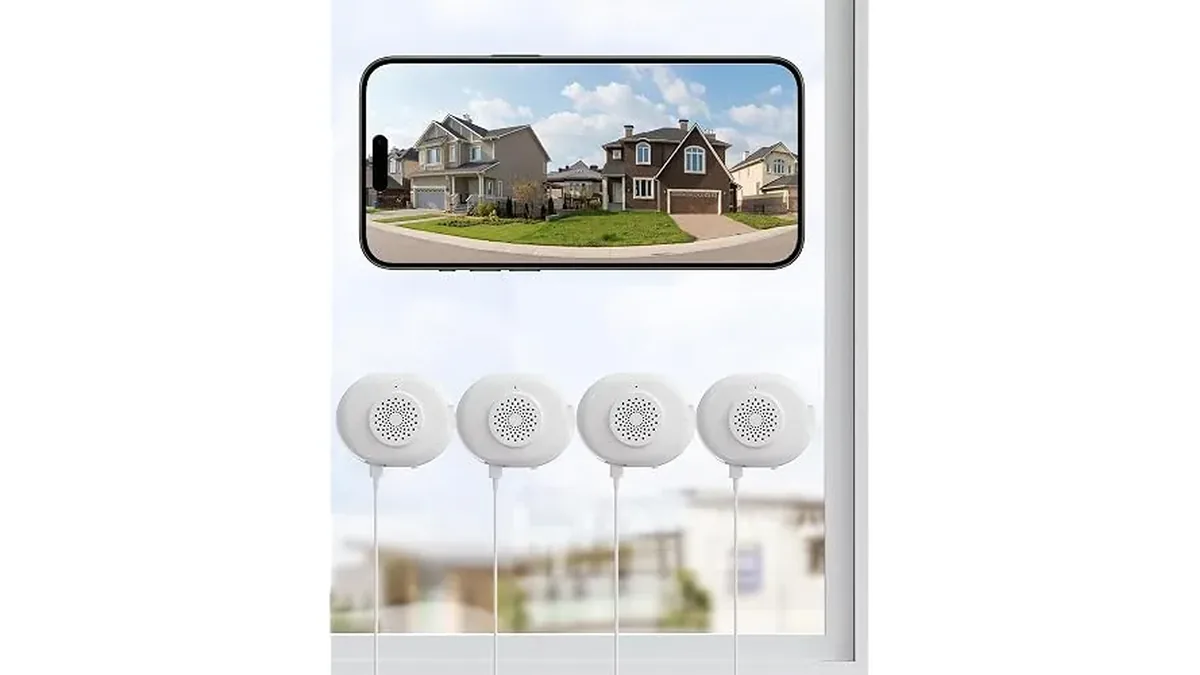
Pair the C680 2K 3MP WiFi Window Cam (4-Pack) before attaching it to the window, then check the view in daylight and after dark. The camera records from indoors through glass, so a working connection is only half the setup. Window reflections and room lighting need their own check.
Choose the window before using the sticker
Look for the view you need, a nearby power outlet and a usable Wi-Fi signal. The C680 runs on plug-in power and supports 2.4GHz or 5GHz Wi-Fi. Keep the proposed position clear of devices ZOSI identifies as potential interference sources, including microwaves, TVs and cordless phones. Do not commit the adhesive merely because the view looks good with the camera held in place.
Check the sight line for the entry or path you intend to monitor, including what appears beyond it. The camera placement guide helps separate useful coverage from incidental views of neighboring property. A four-pack gives you several cameras, but each window still needs a distinct purpose and a practical power route.
Prepare recording and pair at the desk
If you plan to use a memory card, insert it while the camera is off. ZOSI specifies FAT32 formatting and a U1/Class 10 or faster card. Confirm the card requirements before relying on it for recordings; adding the camera to an app and having usable local storage are separate steps.
Connect power to the Type-C port. The camera starts automatically, plays a voice prompt and flashes blue when ready to pair. Install ZOSI Smart, register or sign in, then use the plus button and follow the network instructions. Review the permissions needed for the functions you want to use. A steady blue light indicates connection. Name the camera for its planned window while you can still distinguish the units easily.
Mount in the orientation ZOSI shows
Clean the glass before fitting the hook-and-loop mounting pad. The guide shows the front of the camera against the glass, with the power port facing down. Follow that orientation rather than improvising an angled gap between the lens and the pane. Use the supplied cable clip to tidy the lead along the frame.
ZOSI lists a power adapter, mounting sticker and cable clip, while noting that accessory counts can vary by model. Check the pack before starting all four installations. There is no drilling involved, but the surface and the cable arrangement still need attention. Avoid leaving the cable where normal window use will pull it or displace the camera.
Diagnose reflections without changing everything at once
First confirm that the front sits flat against the glass. Then inspect the image with nearby room lights switched off and on. A lamp that appears as a reflection gives you a specific cause to address. Dim the room behind the camera at night and keep direct light sources out of its aim, as ZOSI advises.
Wipe the pane with a soft cloth before deciding that a hazy patch is a camera problem. Check at more than one time of day. ZOSI's glare reduction does not eliminate every reflection; the guide describes slight glare at some sunlight angles as normal. The F1.0 aperture and starlight sensor support low-light color recording, but they do not remove the glass or guarantee an unobstructed picture in every lighting arrangement.
Separate live view, recordings and notifications
After mounting, make sure the live view shows the correct window. Then check whether a recording from the expected time is available. Do not treat a working live picture as proof that the card is recording. ZOSI suggests checking the searched date, camera system time and card condition when recordings cannot be found.
For missing alerts, check push notifications inside ZOSI Smart and the phone's notification permission separately. For two-way talk, check the relevant phone permissions too. Changing the mounting position will not fix a blocked phone notification. Work through the function that is failing rather than resetting every part of a setup that otherwise works.
Make alerts useful for this window
Set activity zones around the path or street area you want to monitor. Use privacy zones for areas such as a neighboring window. Review the resulting view before relying on the alert arrangement; a broad scene can include more than the area that motivated the purchase.
Person and vehicle detection are available, but an alert still needs context. Use the window name to identify its location, then inspect the event rather than treating every notification as the same kind of incident. Repeat this setup per camera, since copying a layout between different windows may include irrelevant parts of the scene.
Expand the four-pack one checked window at a time
Complete a usable setup for the first camera before attaching all four. Confirm its name, view, recording choice and alert behavior, then repeat the process at the next window. Keep track of which physical camera belongs to each app entry while they are still easy to identify. This avoids having to guess which unit you are adjusting once several views look similar.
Ask another household member to open the named view and describe the area it covers. If the name is ambiguous, change it now. Check whether two windows merely duplicate the same view or cover different approaches. More installed cameras do not automatically add useful coverage when their positions have not been planned separately.
Share access and recover a disconnected unit
The first account to add a camera becomes its primary user. Family members cannot simply add that same camera as their own, but the primary user can invite up to five sub-users. Arrange access through that account instead of repeating initial pairing for each person.
If a camera shows offline, check its power, Wi-Fi and the router connection, then confirm automatic IP assignment on the router. The C680 is indoor-only and not weatherproof. For an exterior installation, compare the C291 Solar Wireless PT; for the room itself, see the C518 indoor pan-tilt camera. Other options are in Dome & Specialty Cameras.